UI
Issuing a Card

Editing a Card
Deleting a Card
UI
The home page of the User Interface can be broken down into different sections.
1. Menu Selection
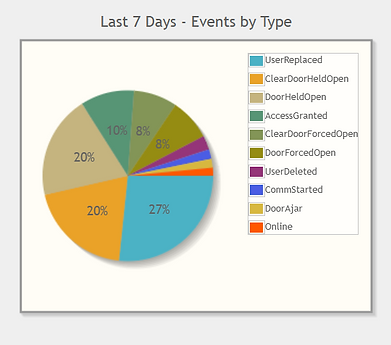
2. Analytics

3. Graphical Selection


Editing A Card
To begin editing a conference participant's card, select the "Cards" widget from the home page of the partition of your choice.

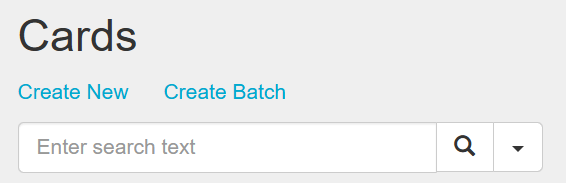
After selecting the "Cards" widget, using the Search bar, type in the card number of the associated conference participant.
After typing in the card number of the associated participant, select the appropriate card option. Utilize the additional information provided to narrow down your option selection.

Make the appropriate edits to the any of the following fields. This includes;
-
Card Number
-
Card Set
-
Active On
-
Expires Never
-
Access Level Memberships
Ensure you select "Save" to finalize any edits created.

After saving your edits, search the card again to review your edits reflected.


Issuing A Card
1. Logging In
1.1 Log on to PERSONA Online.

1.2 Select "Cardholders".
2. Creating The Key Card
2.1 Utilizing the search command box - Type in the conference participants full name. Either include or exclude parts of the name to populate the participant.

2.2 Once you have found the participant's respective profile, select the profile.
2.3 Select "Create New".

2.4 Enter 10 digits from the back temp card in the number field.

2.5 Select the card set from the drop down - UCSD Contactless.

2.6 The expiration date is automatically set for a year; Change the Set expiration for one week from the date the card is made. To close the calendar - click on the calendar icon.

2.7 Add - "ACCESS LEVEL MEMBERSHIPS" - STUDENT ROOM & BUILDING COMMON DOORS. (note: Access levels do not have Z in front of them.)

2.8 Search and add the student's common doors and access level to their room/suite.

2.9 After common doors and living space has been added - SAVE.

2.10 Follow the directions again for 2nd card set using the same temporary card # - this time using - UCSD Transact Card. Follow same steps down to the expire date and manual access level.


Deleting A Card
1. Un-assigning A Card
1.1 Select the "Cards Module"

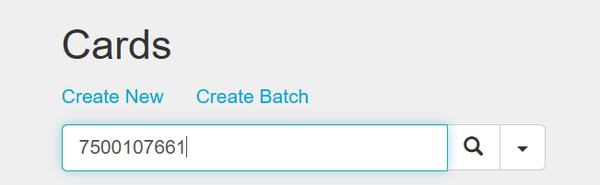
1.2 Type in the card number in the search box of the card being returned.
1.3 The screen should bring you here.

1.4 Delete to remove access & unassign below the resident's name.

1.5 When the screen is clear; and it is not assigned to the residents - click save.


1.6 Select "Save". Click the trash icon to delete / the screen will come up to confirm deleting the card.

1.7 Select "Delete".
> If it has been deleted, the screen will appear blank.

Contributors: Julio Villarruel & Stephanie Borja